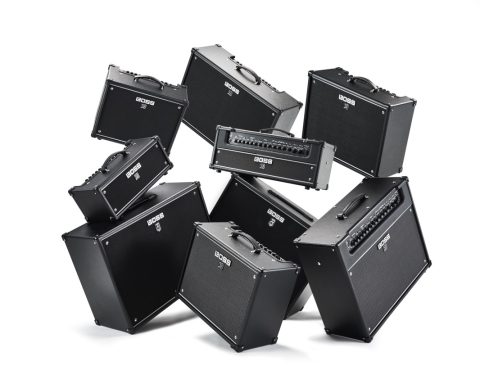
Welcome to the world of BOSS Katana amplification, a family of products that includes a broad range of feature-packed amp and effects solutions. Katana covers everything from 100-watt solid-state tour-ready amplifiers to headphone-based home practice tools. In this guide, we’ll take you through the basic steps to get your Katana set up and sound its best. We’ll explain the controls and features of the amplifier and how to make the most of additional tools like Tone Central. Plus, we’ll recommend some online guides, communities, and lessons to put you in a great place to make this Katana your dream amplifier.
Unboxing and Setup
Inside the box, you’ll find your new carefully packed Katana amplifier, an IEC power cable, and a written user manual. Once you’ve removed the amplifier from the packaging, place it near a power source, connect the IEC cable to the AC In socket on the back right-hand side of the amplifier, and connect the plug to your power source.
Next, you’ll need something to connect to the Katana, so fetch your guitar and a quarter-inch jack cable and connect the cable to the instrument input on the top left of the control panel. Before you turn the amplifier on, ensure the Power Control is set to Standby, and the Master, Volume, and Gain controls are all turned fully counterclockwise. Once this is set, hit the power switch on the top right of the amplifier’s control panel.
Exploring the Controls and Features
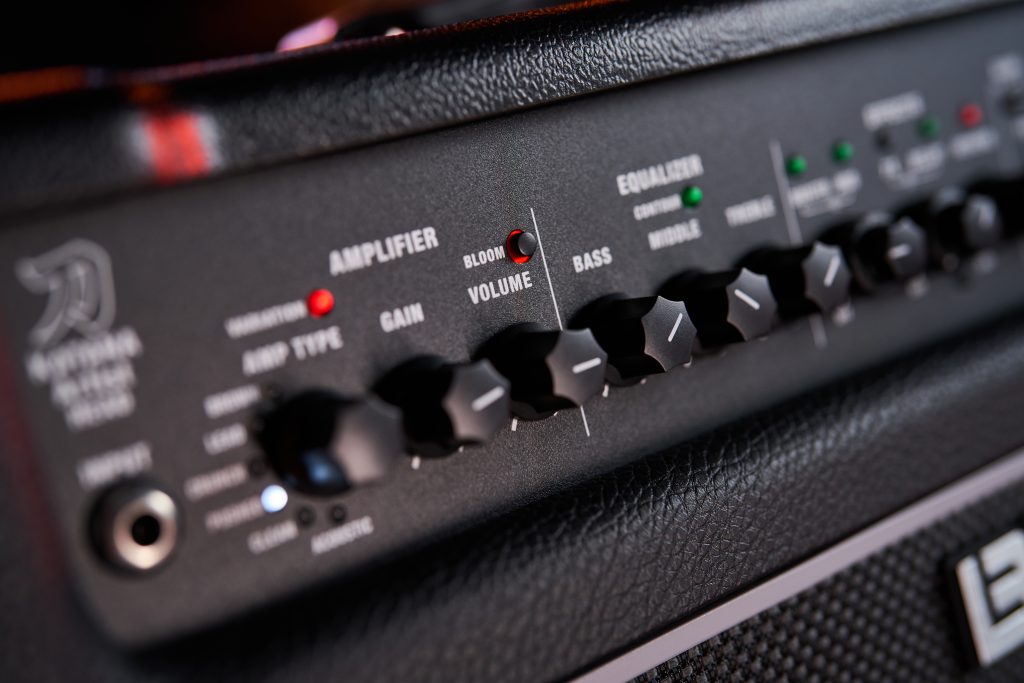
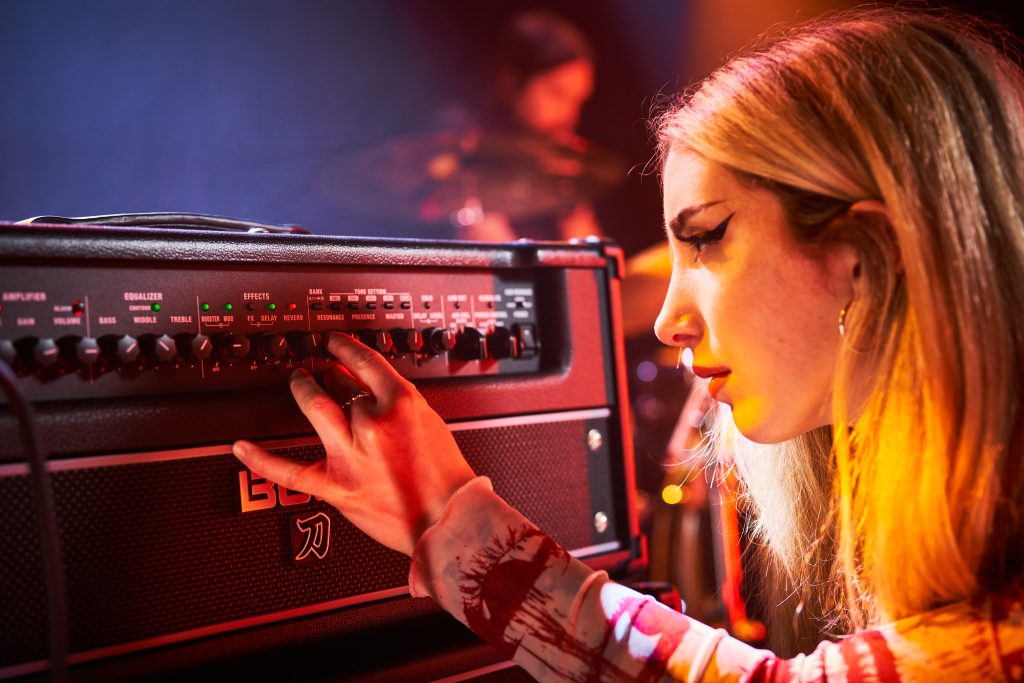
Before crafting the perfect guitar tone, familiarize yourself with the amplifier control panel. The controls are split into four sections: Amplifier, Equalizer, Effects, and Tone Setting.
Amplifier Section
The Amplifier section includes Amp Type, Gain, and Volume. These are the most fundamental controls of the amp and impact the EQ and tone-shaping controls and their functions.
Amp Type allows you to select from five unique amp voicings and a variation within each preset. Each mode will revoice your Katana to the gain structure and EQ characteristics of the selected amp type. Clean will give you a simple, flat, Jazz Chorus-like pedal platform with a low gain range, whereas Brown will provide you with a thick, punchy classic rock voicing.
The Gain and Volume controls interact closely with each other. You can create a simple, clean tone by reducing the gain and boosting the volume or a driven tone by boosting the gain and reducing the volume.
EQ and Effects Panel
The EQ control panel is divided into three simple controls: Bass, Middle, and Treble. These controls will impact your amp’s general tone, allowing you to boost or cut each frequency band to shape your desired tone.
The Effects Panel is slightly more complex. It includes five controls, although two of them are on concentric stacked pot knobs. Think of them as two independent controls positioned on top of each other. These knobs control the broad range of effects included on the Katana including boost, modulation, delay, and reverb.
"These knobs control the broad range of effects included on the Katana including boost, modulation, delay, and reverb."
To engage an effect, roll the control knob clockwise from zero. The effect will become more prominent as the knob is rotated further. The buttons above each effect will scroll through different effect types for each knob. The details and parameters of these effects can be expanded and edited further through the BOSS Tone Studio app, which we’ll discuss later in this article.
The number of effects included with Katana is substantial, and you’ll be able to select from a broad range of classic BOSS tones, including multiple different overdrive, distortion, and fuzz effects, octavers, chorus, phaser, flanger, several delay types, and a range of classic reverb voicings.
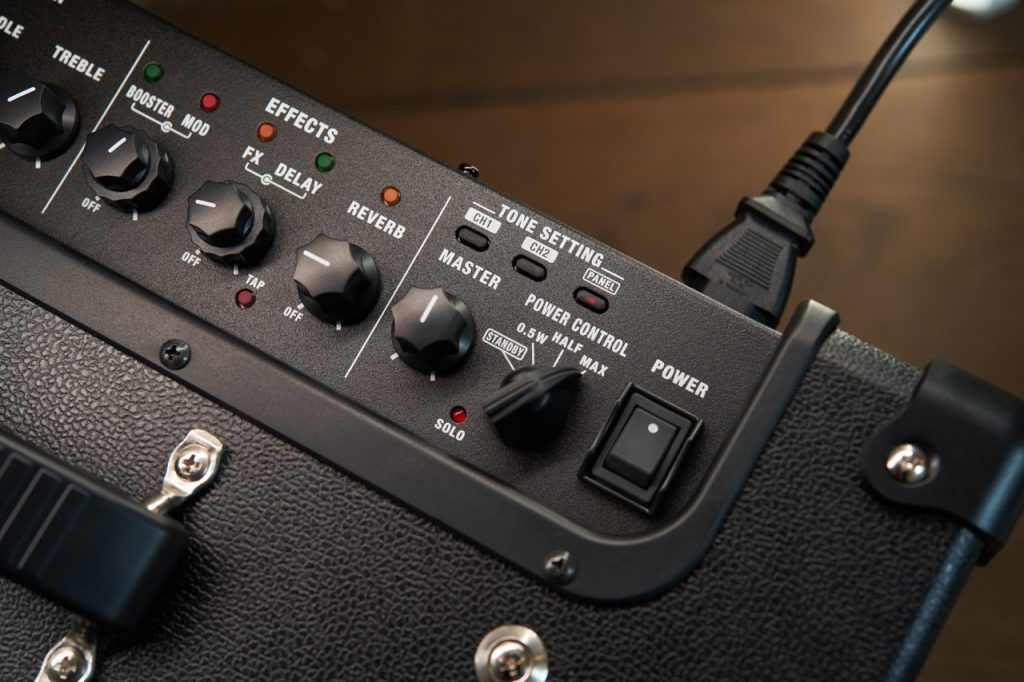
Tone Setting
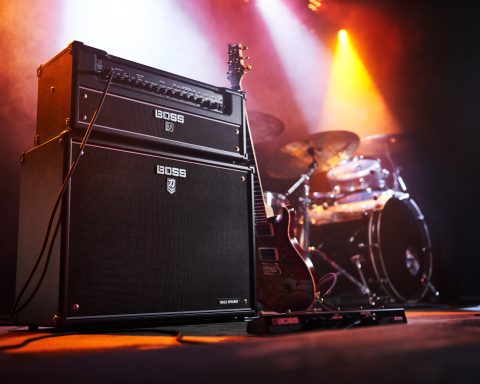
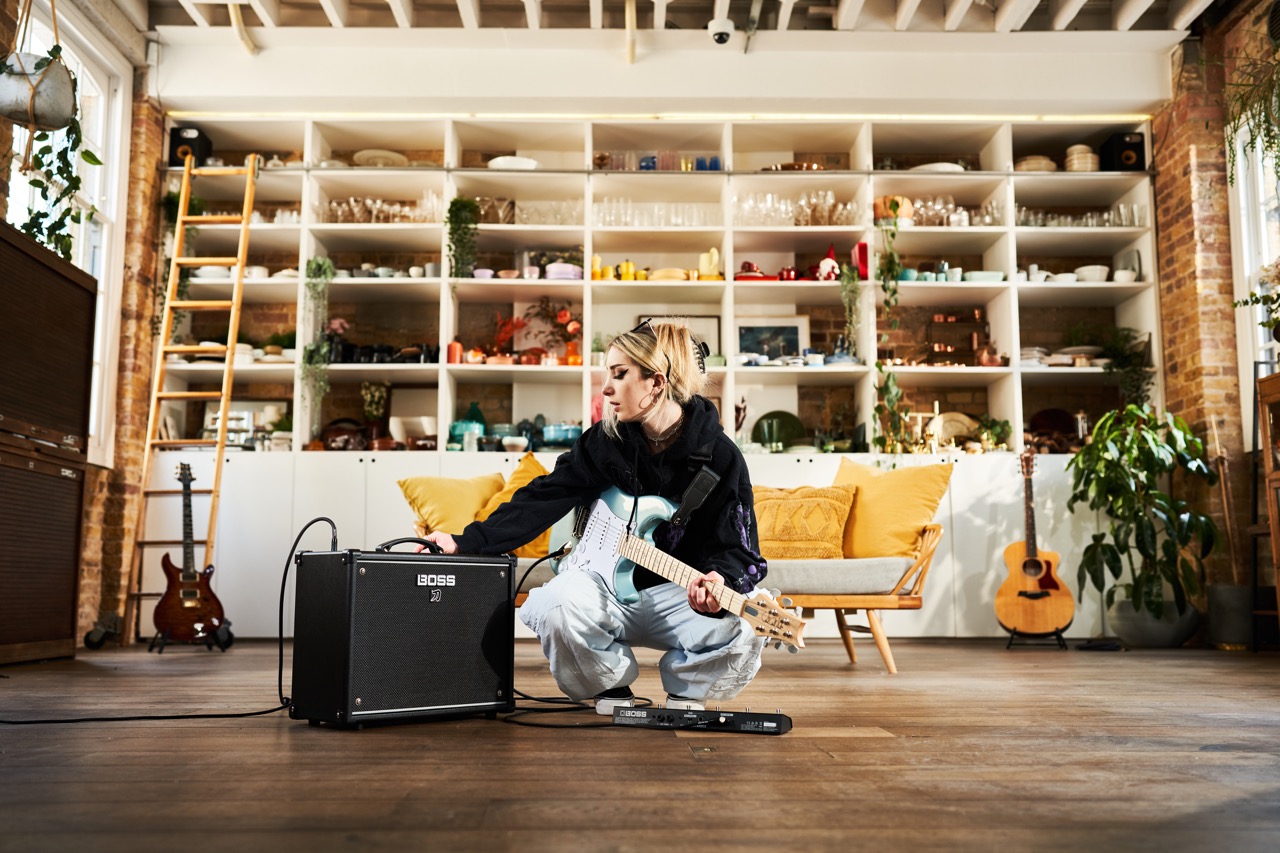
The final section of the amplifier is the Tone Setting section. These controls include four Channel buttons, a Panel button that you can use to save and recall presets, a Presence and Master control knob, and a Power Control selector. The Presence knob controls the clarity of the amplifier’s overall tone, the Master knob controls how much you can push/boost volume of the power amp, and the Power Control allows you to choose between several different wattage levels without spoiling original tone and response.
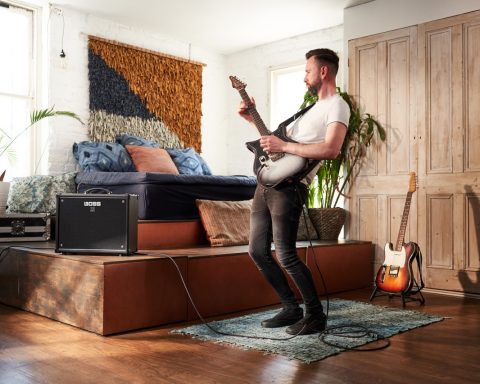
Also, unlike general attenuators, the unique BOSS Power Control can lower just the volume while keeping original dynamics, characteristics, and response intact. Setting the amp to a lower wattage allows you to drive it at lower volumes, which is perfect for testing various drive tones at home without annoying the neighbors.
"The change in wattage impacts not only the amplifier's volume but also its headroom."
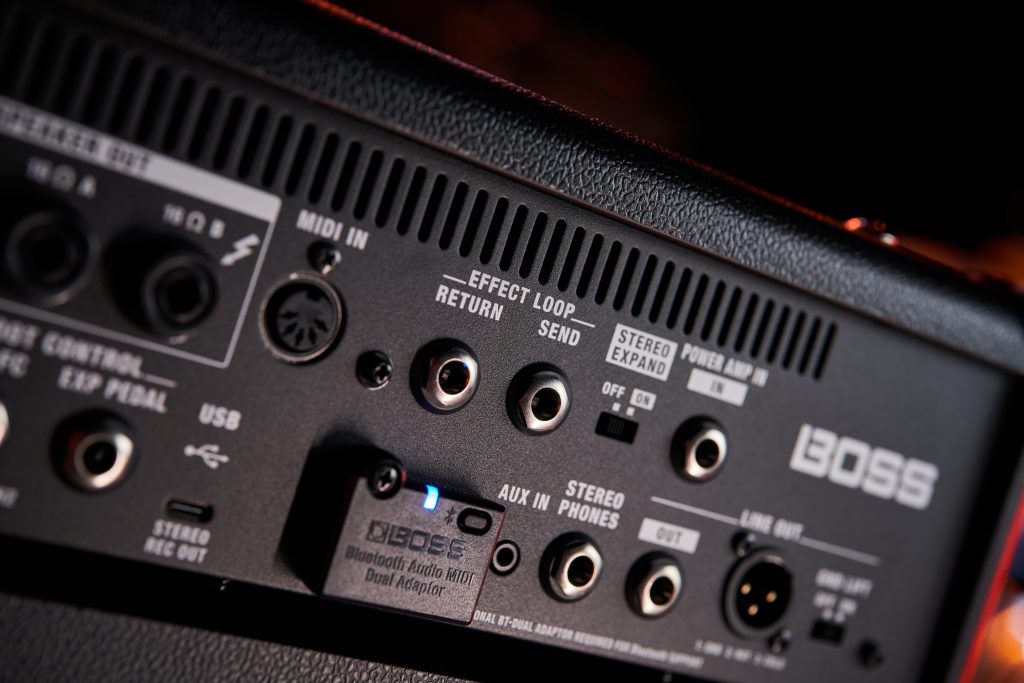
Back Panel
The back panel of the Katana is also very comprehensive but will vary slightly depending on the model you’ve purchased. The Katana will feature an effects loop to add additional effects pedals after the preamp stage of the amplifier, as well as a line out, recording out, and power amp in. There is also a foot control input for the addition of the GA-FC controller, an expression pedal, or a latched footswitch for a solo boost. Finally, a USB port connects Katana to your computer or smartphone to access Tone Studio and Tone Exchange.
Basic Operation
With the Katana set to Standby and the Gain, Volume, and Master controls fully defeated, hit the power switch on the right-hand side of the control panel. Make sure all five of the Effects knobs are fully defeated and that the EQ and Presence controls are at their midpoint.
Turn the Power Control knob from Standby to 0.5 watts, raise the Gain control to around a quarter, and bring the volume control to its midpoint. Now raise the Master control while lightly strumming your guitar to get the amplifier to the desired volume.
"The Katana features an effects loop to add additional effects pedals after the preamp stage of the amplifier, as well as a line out, recording out, and power amp in."
Creating Tones
Now that the amp is turned on and functioning, it’s time to create some tones. Use the Amp Type knob and Variation switch to scroll through the different amp modes. For the sake of an example, select Clean; this amp mode is a very simple, natural-sounding voice.
Raise the gain control to around its midpoint to create a little bite and natural sparkle to your tone. Reduce the bass and boost the middle and treble EQ controls to create a classic “US clean” style tone.
Adding Effects
Next, blend in some reverb by rotating the Reverb knob to around a quarter. You can also scroll through different Reverb voicings by pressing the LED button above the reverb control. You now have a simple, functional, classic guitar tone. Let’s add a bit more character by looking at the effects panel.
Add a little overdrive to your tone by rotating the Boost knob to around a quarter, and scroll through different boost, drive, and fuzz effects by pressing the LED button above the control knob.
Once you’re satisfied with the overdrive tone, let’s add a simple slapback delay to your tone. Rotate the delay knob and scroll through delay tones using the same method applied to the Boost control. Now press the Tap button four times to create a fast, tight slapback delay tone. The feedback of the delay effect can be altered by turning the delay knob up or down to taste.
"You can now save this tone as a preset that we can return to at any time using the Tone Settings buttons on the right-hand side of the control panel."
Saving Tones
We now have a simple amp tone with a specific amp voicing and several effects. You can now save this tone as a preset that we can return to at any time using the Tone Settings buttons on the right-hand side of the control panel.
Press and hold CH1 to save this preset to that channel. If we make any adjustments or switch to other channels, we can press CH1 again to return to the tone we built. This applies to all the CH buttons on the control panel, so it’s easy to build and save basic amp tones without connecting the Katana to a computer and using Tone Studio.
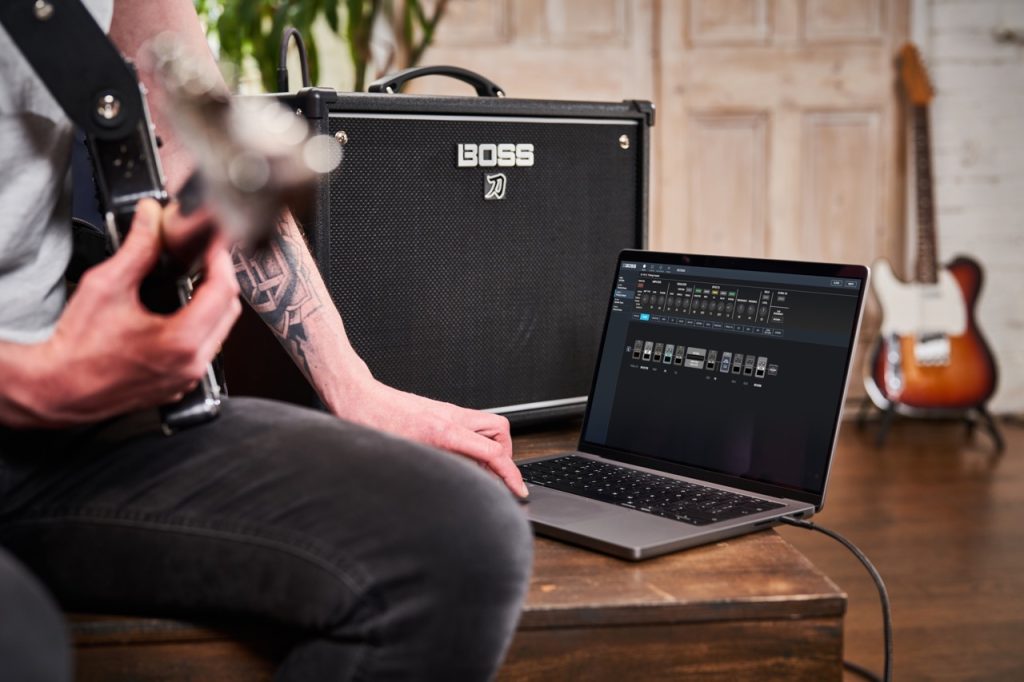
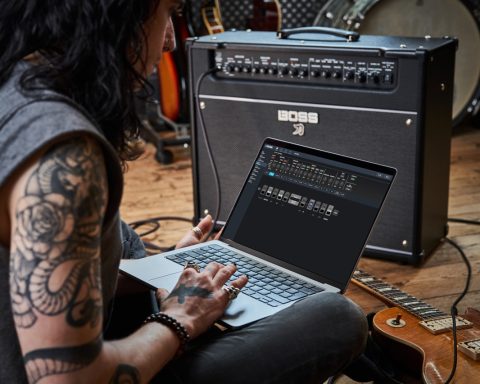
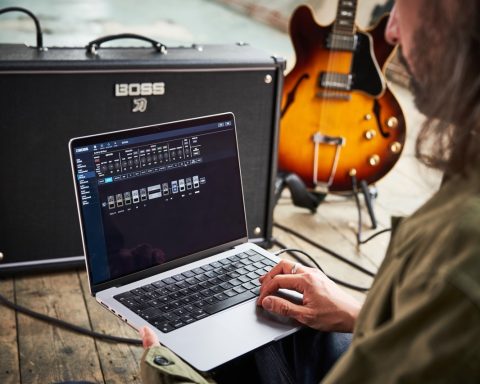
Connecting to BOSS Tone Studio
Tone Studio is a brilliant and comprehensive tool that allows you to shape and create new guitar tones and access an enhanced catalog of assignable effects for your Katana amplifier. To access Tone Studio, connect your Katana amplifier to your computer via the USB cable and head here to download the appropriate software for your product and operating system.
Once installed, Tone Studio can edit any saved presets on your Katana. It also allows complete control over a variety of effects. Once you store an effect on the Katana, the single knob assigned to each effect type can only edit one parameter. Tone Studio allows you to completely shape and edit every effect to taste before assigning it to the amplifier’s control panel.
Getting the Most Out of Your Katana
The Katana amplifier series is packed with amp models and effects. It’s a fantastic way to explore all the tonal options without having to purchase several amplifiers and a lot of stompboxes. Katana was designed with versatility in mind; it’s just as suitable for heavy metal as jazz, and we encourage you to explore everything it offers.
A Wealth of Resources
Due to the massive popularity of the Katana series over the last decade, a wealth of online resources, communities, and video tutorials is available. Guitar Zero To Hero and Marty Music, among countless others, have created helpful video deep dives looking at Katana and creating interesting and unique presets and settings examples to make the most of your new amplifier. Also, the BOSS Katana Amps Group on Facebook has over 40,000 members and is an excellent community for hints, tips, and new patch ideas.
"Katana is a fantastic way to explore all the tonal options without having to purchase several amplifiers and a lot of stompboxes."
Freedom to Explore
Katana has been designed with absolute versatility in mind. You now have the freedom to explore the comprehensive range of shapable effects and unique amplifier voicings for years to come.
Tone Studio and Tone Exchange are excellent tools to help you explore even further. YouTube and guitar forums are full of great examples and unique ways to make the most out of this amplifier. Utilize them to expand your creativity, and remember you can always refer back to this article and others for a simple guide on getting set up.
- Explore the Katana Gen 3 Amplifier Series